

How To Add Decorative Molding To Kitchen Cabinets
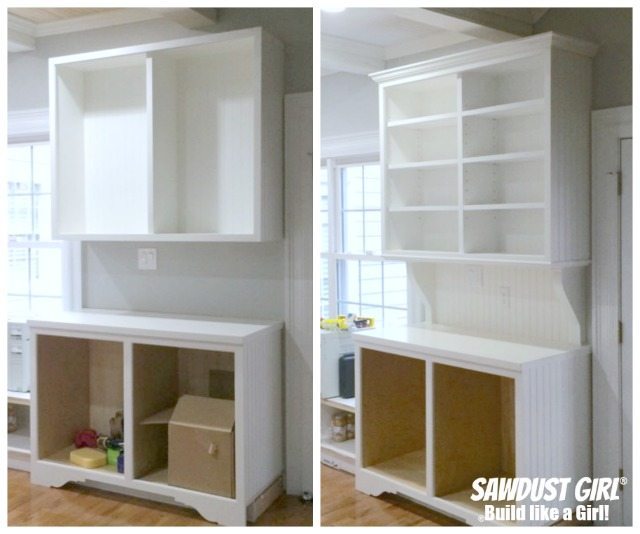
In this post I'll show you how to install crown molding on kitchen cabinets. Information technology adds a big visual bear upon and really amps the "sophistication factor" up a notch. You use the same methods as you lot do for cutting crown moulding that yous would install on your wall. I have shared a couple tricks to make cut crown moulding as easy as possible: Crown Moulding Templatesor Crown Molding Stops and Cutting Guide Now I'yard going to share my tips and tricks for installing crown moulding on kitchen cabinets and built-ins.
How to Install Crown Molding on Kitchen Cabinets
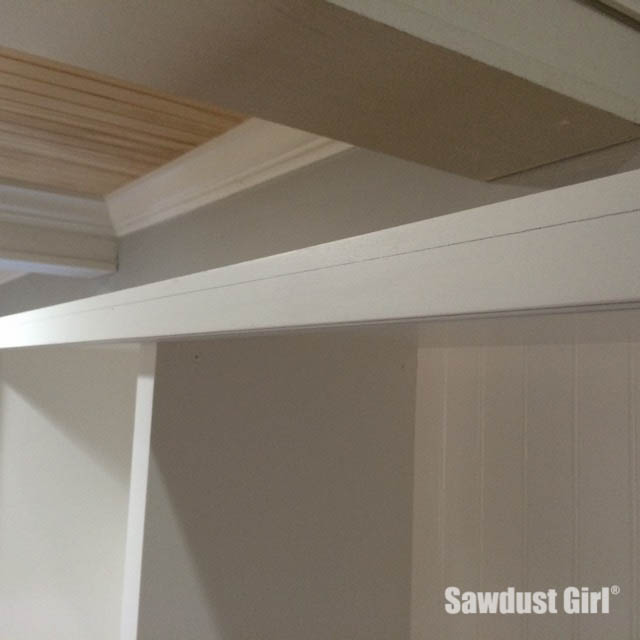
Use a straight edge to marking where the bottom of the crown moulding volition sit on the cabinet face-frame. Marker all sides of the cabinet onto which you volition be attaching crown moulding.
Fill Gaps
It is of import to fill in the face-frame overhang (if there is one) before installing crown moulding. The side of the cabinet must be affluent with the side of the faceframe for the crown moulding corner to be foursquare. Fill in the gap with a piece of fleck wood that equals the gap.
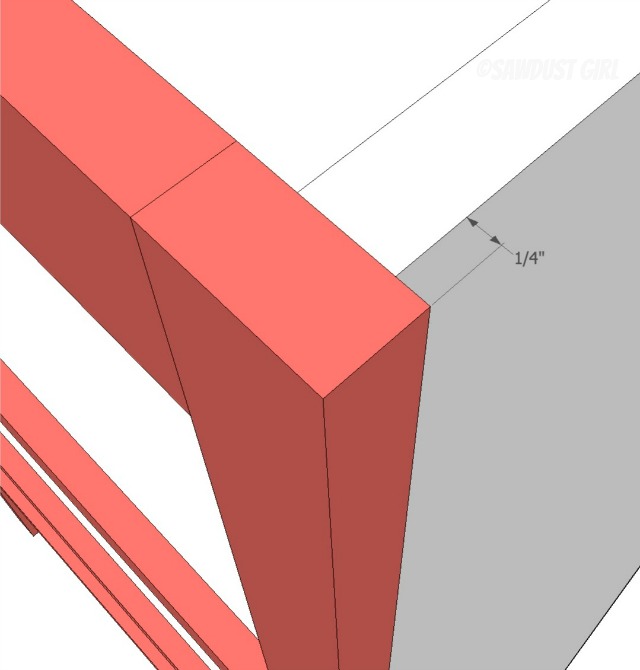
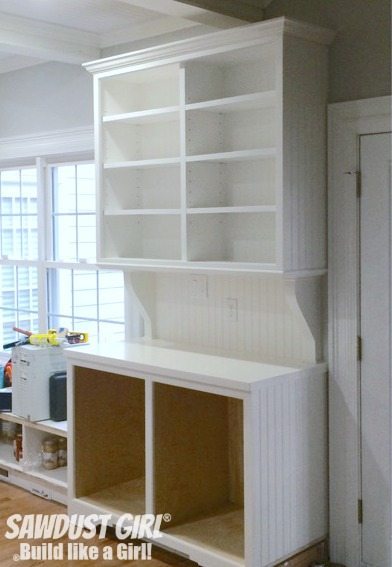
Use whatever fleck you have handy. I used a paint stir stick on my China hutch. The filler strip should not extend below the bottom line mark.
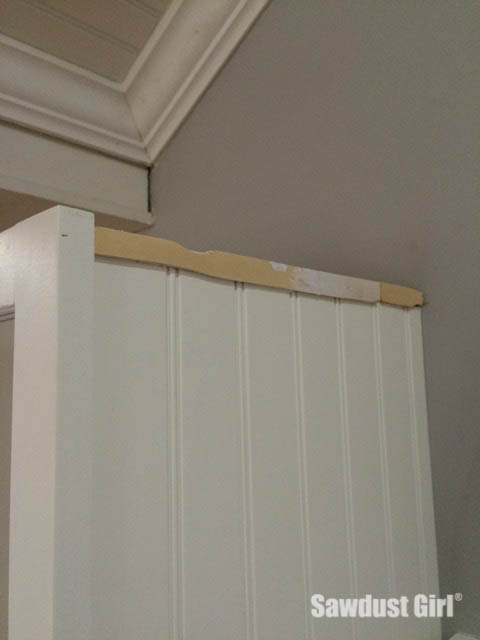
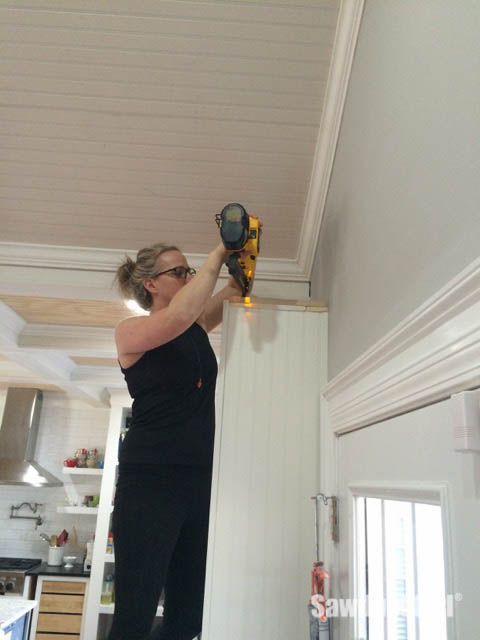
Add together nailer block
If there is not a large area of cabinet sides and face up-frame (above your crown lesser line) it will exist difficult to attach the crown moulding with nails because you angle the nails upwardly, often missing the cabinet/faceframe all together. If y'all secure a cake of wood around the perimeter at the acme of the cabinet it will give you a surface into which you can shoot the nails and secure the crown moulding.
Measure out and Cutting
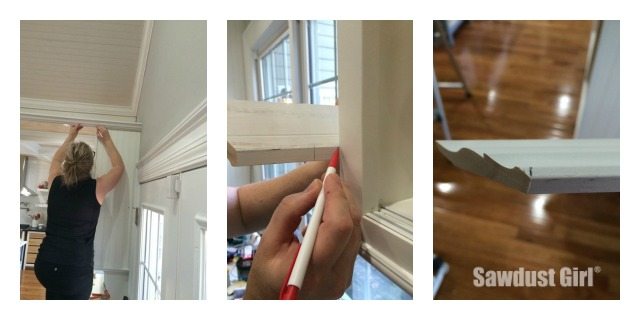
Mensurate and cutting ALL pieces of crown earlier nailing whatsoever to the cabinet. I find that property the piece of crown moulding upwardly to the cabinet and marking where information technology needs to be cutting is far more effective than trying to measure the cabinet with a measuring tape and transferring that measurement to the crown moulding.
To practise this, cutting pieces of crown moulding that are generously longer than each piece needs to be — giving you enough to piece of work with only allowing you to work with manageably sized pieces.
- Start with a side slice. Concur the direct end against the wall and mark where the crown moulding exits the cabinet.
- Mensurate and mark the contrary side piece in the aforementioned manner.
- Cut both pieces.
On a typical cabinet, all your crown moulding angles will be "outside corners". A corner, whether outside or inside, is where two pieces of crown moulding seem together. Refer to my Piece of cake Templates for cut Crown MouldingorCrown Molding Stops and Cut Guide for more explanation on corners and angles and how to cutting them.
- The correct end of the left side piece will be theleft side of the "corner".
- The left end of the correct side piece will be the right side of the "corner"
- For the center slice; the right end is the left side of the correct corner and the left stop is the right side of the left corner.
- For the center piece, cut the right stop and then concur information technology in place with a slice of painters tape while you lot marking the other end to ensure you get an exact measurement.
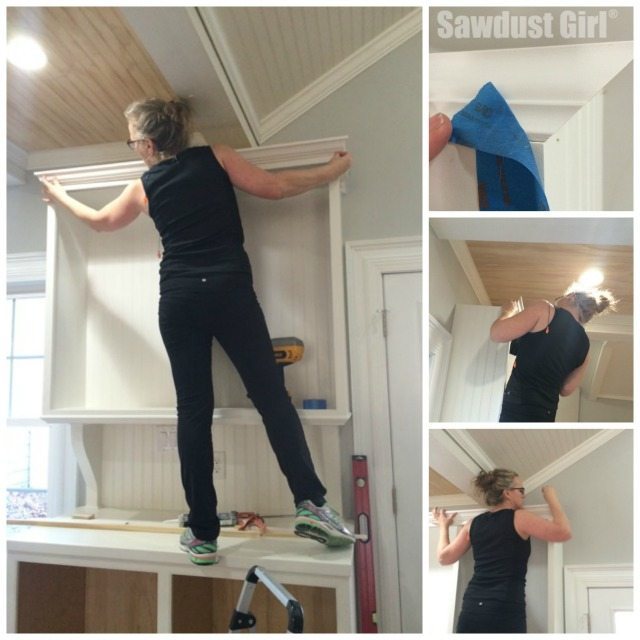
Dry fit
Once all pieces are cut, employ painters tape to concur your pieces in place while you make sure they are all the right length and the corners close upwardly tight. Crown has an irritating fashion of lining up perfectly and then suddenly NOT being the right size AFTER you've driven a few nails into it. I like to give it a piffling test bulldoze before I make the nail hole delivery.

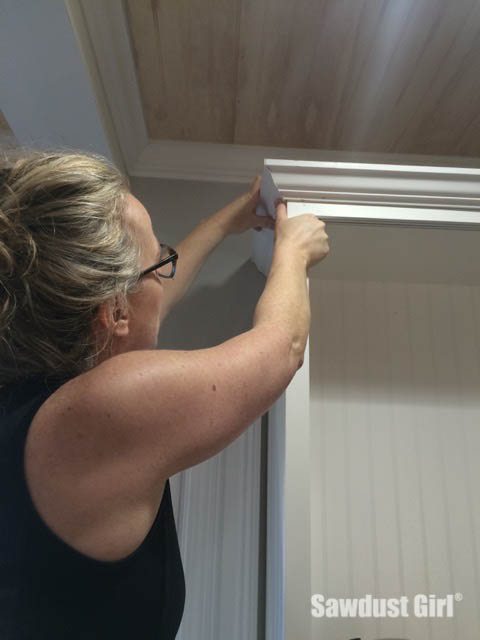
Attach
Once you lot experience you're fix to blast that sucker into identify, go for information technology! Leave the painters tape in identify until later on y'all've secured it with nails.
- Starting time by securing 1 side to the cabinet.
- So secure the middle piece, making sure your first corner is aligned.
- Then get your last side piece in place and nail that sucker to the cabinet!
Getting nails angled up through the moulding in an camouflaged spot while making sure you Practice hit the cabinet or nailing block behind it and and making sure y'all DON'T knock the corners out of alignment with the force of the nail tin can be challenging! I won't lie.

Simply the end outcome is SO TOTALLY worth it!
Other helpful posts:
- DeWalt bombardment smash gun
- Easy Crown Moulding Templates
- Crown Moulding Stops and Cutting Guide
Source: https://sawdustgirl.com/how-to-install-crown-molding-on-kitchen-cabinets/
Posted by: jonessexpround.blogspot.com
0 Response to "How To Add Decorative Molding To Kitchen Cabinets"
Post a Comment